User Manual#
This user manual shall guide you through the whole reproduction process of LEADS VeC.
Tip
This user manual is written in steps in order.
Connect the Voltage Sensor#
The voltage sensor is theoretically a voltage distributor. Connect the two measuring ends with the battery in parallel.
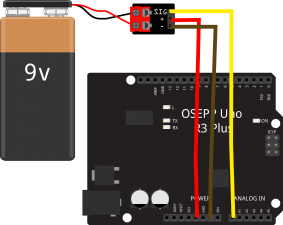
Detailed specs of the voltage sensor can be found in the Appendix.
Connect the Wheel Speed Sensors#
If I can still keep up with the fashion, wheel speed sensors should be 3 or 4 Hall switches that each has 3 pins.
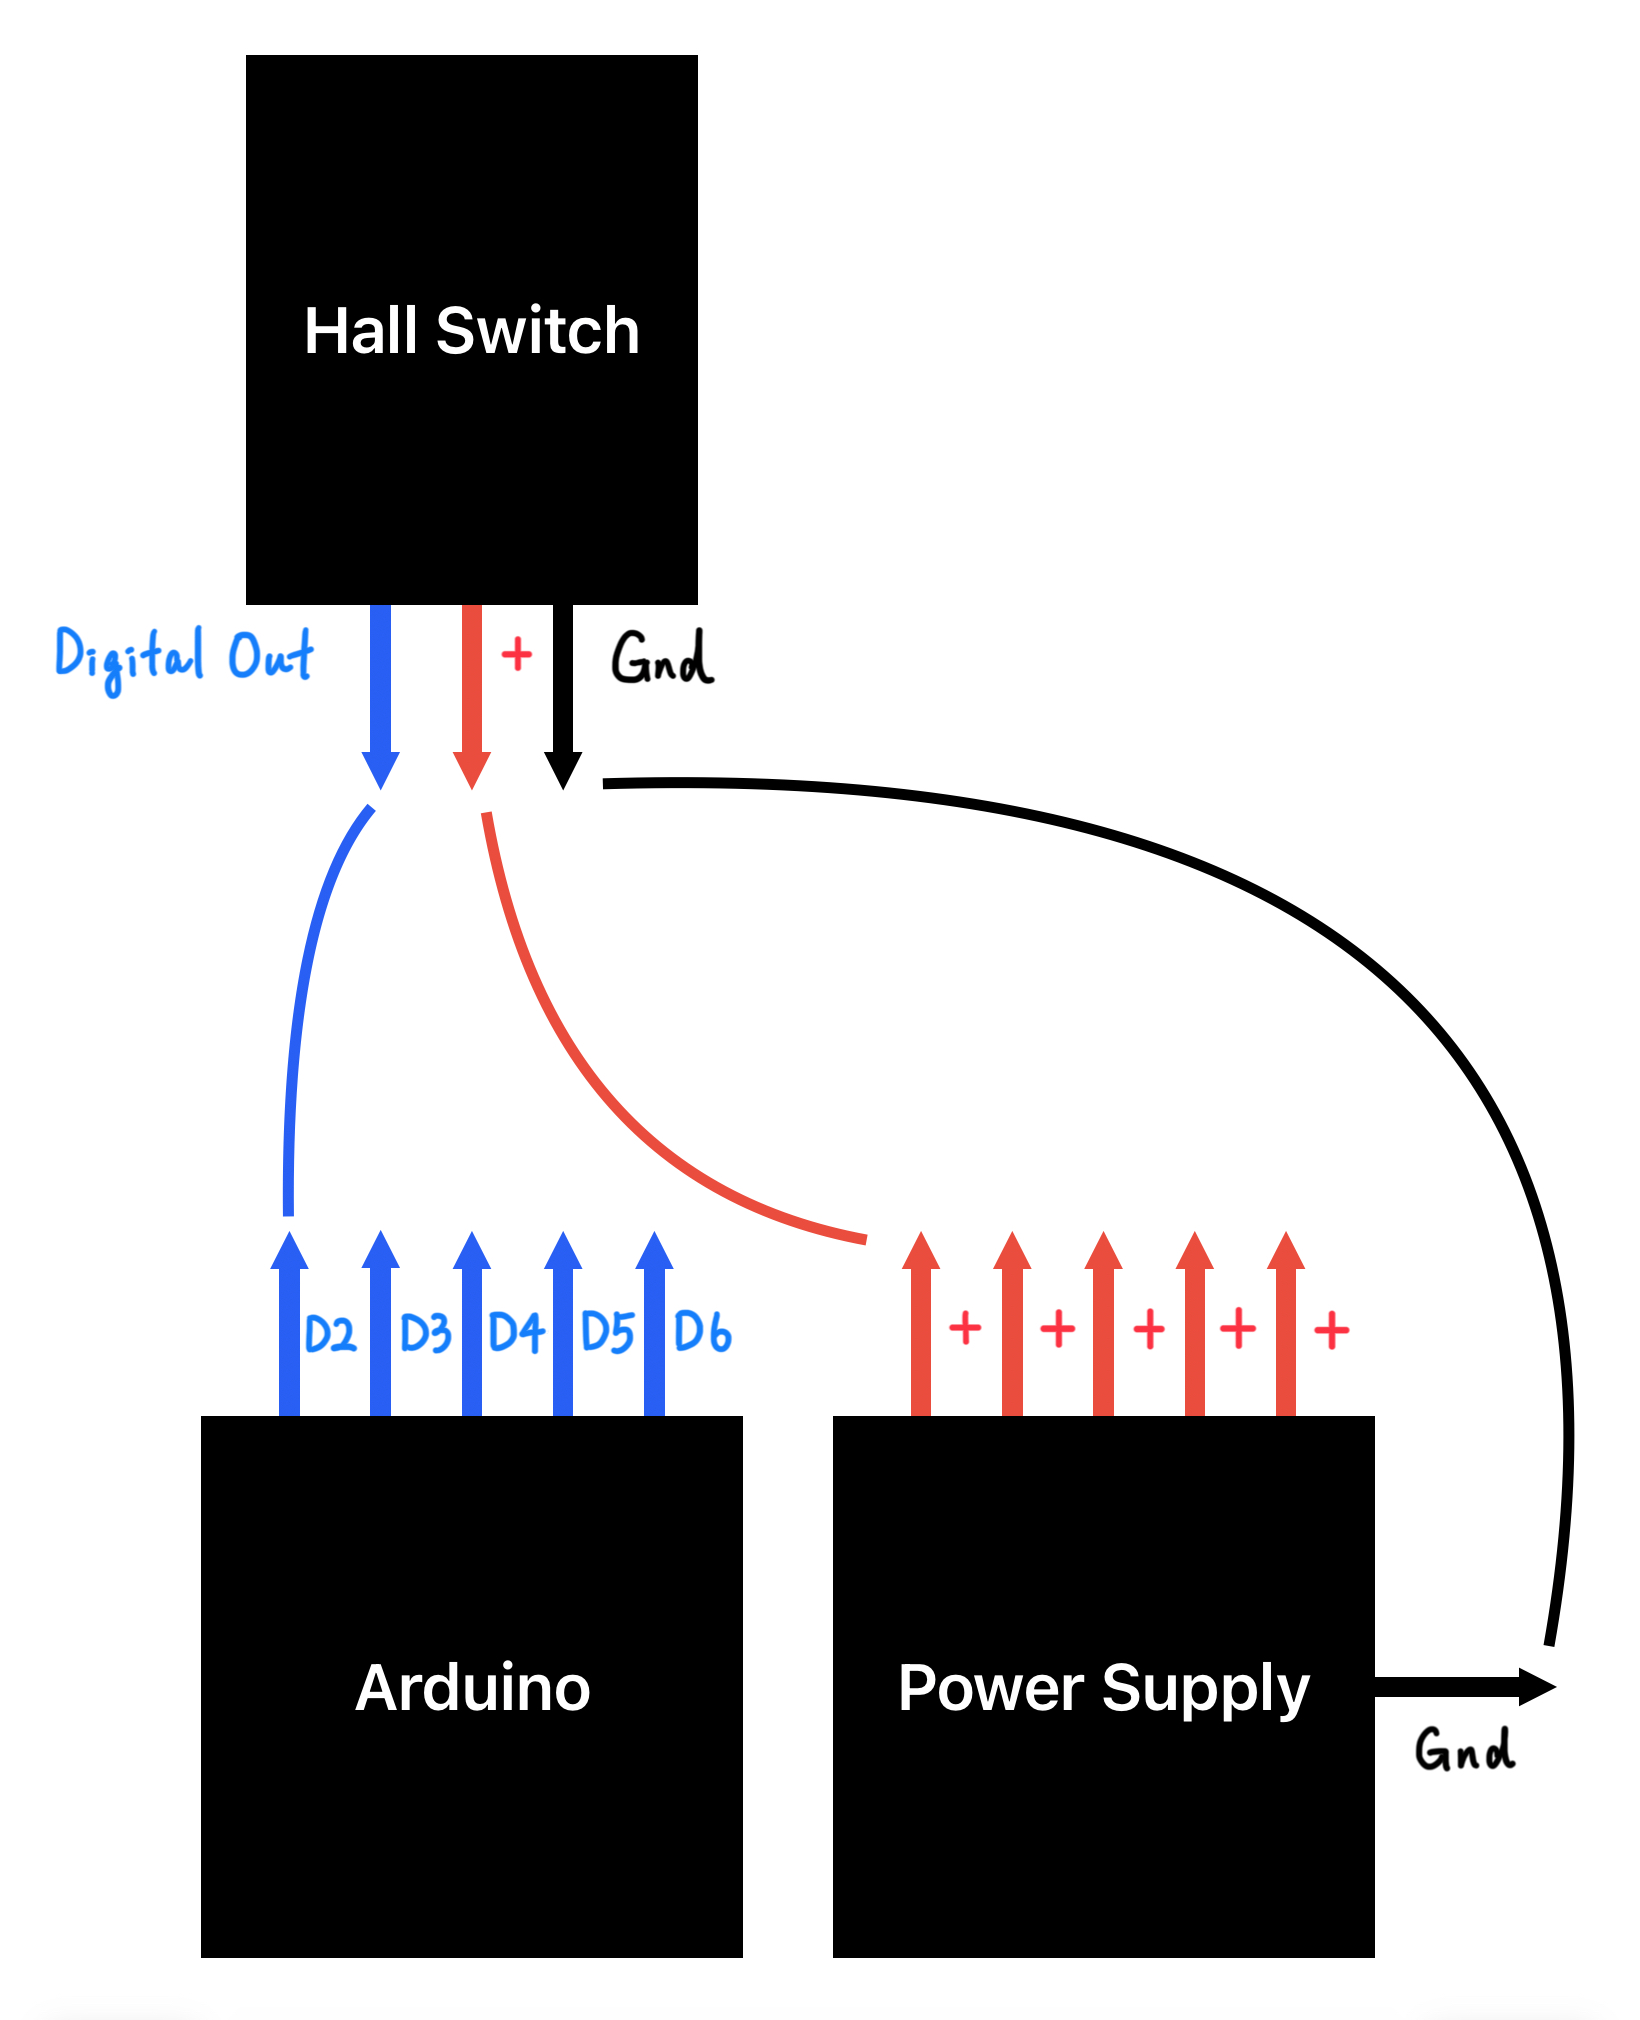
You must connect the wheel speed sensors to the designated pins. You can find the pinout diagrams for Arduino in the Appendix. You do not need all 5 sensors. A three-wheel vehicle would have 3 sensors, and a four-wheel vehicle would have 4 sensors. Pinout diagrams and input voltage for the hall switches can be found in the Appendix as well.
Position |
Pin |
|---|---|
Left Front Wheel |
2 (D2) |
Right Front Wheel |
3 (D3) |
Left Rear Wheel |
4 (D4) |
Right Rear Wheel |
5 (D5) |
Center Rear Wheel |
6 (D6) |
To configure the power supply module, see the Appendix.
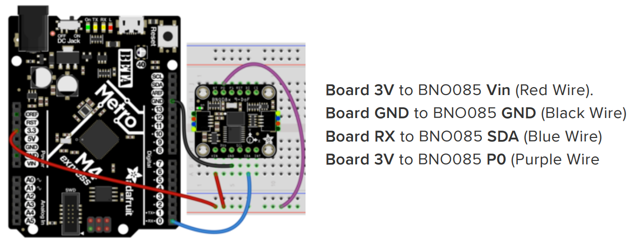
Connect the Accelerometer#
Wiring up the BNO085 in UART RVC is similar to UART.
Install the Operating System for the Raspberry Pi#
Download and install the Raspberry Pi Imager.
It should look similar to this.
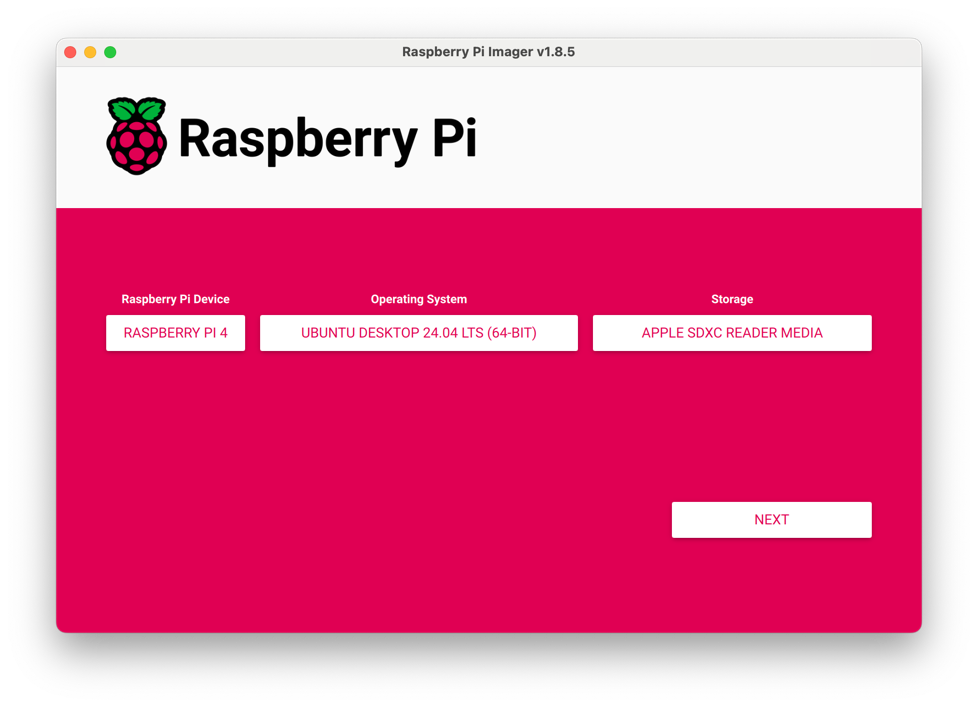
Select the “Raspberry Pi Device” accordingly. For the “Operating System”, Ubuntu Desktop 22.04 LTS or later is recommended. They are in “Other general-purpose OS”.

Select the “Storage” accordingly, then click “NEXT”.
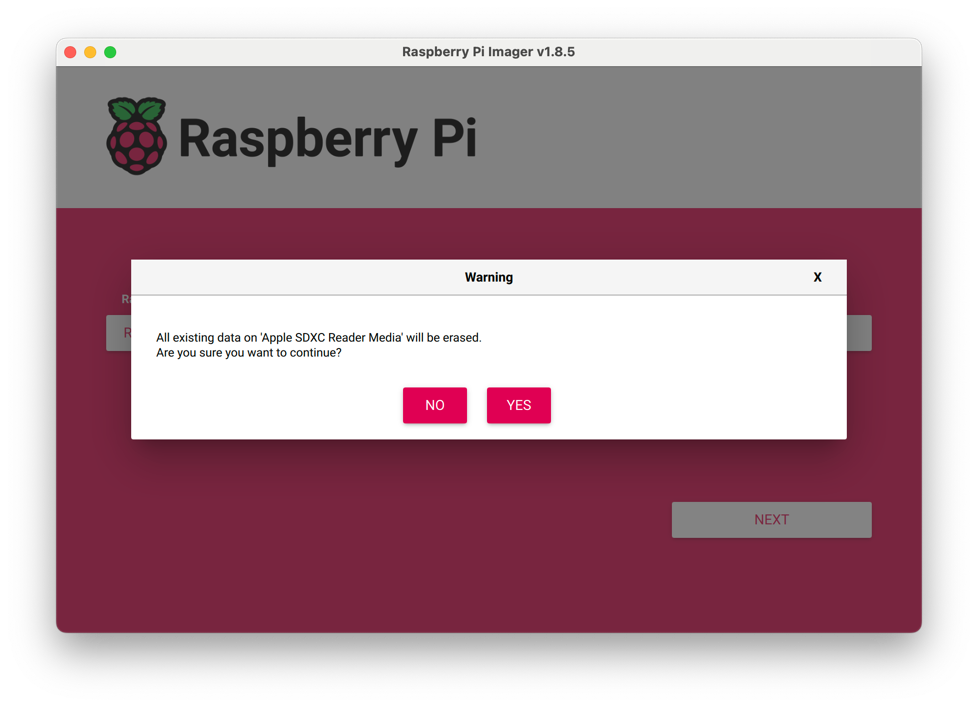
If a dialog like the one below pops up, just say yes.
From then on, wait until this dialog shows up.
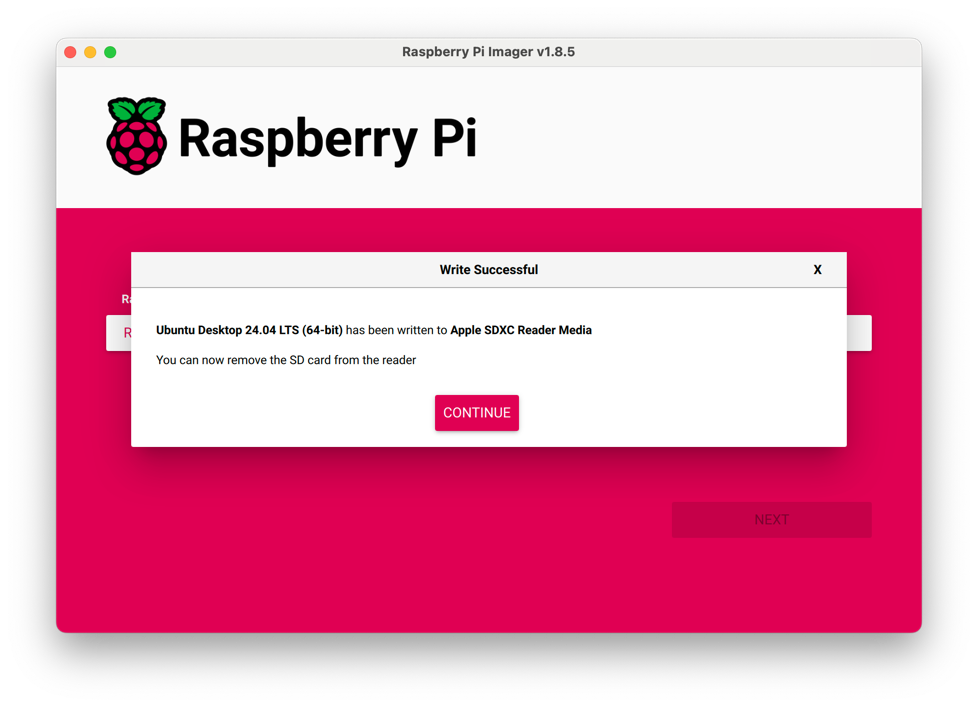
Click “CONTINUE” and make sure the SD card has been successfully ejected before you remove it.
Insert the SD card to the Raspberry Pi and power up. Follow the instructions to install the system.
Warning
The installation is very likely to fail if you do not eject the SD card properly, or you click “Continue” too soon before Wi-Fi is fully connected (you will see during the installation process on the Raspberry Pi).
(Install the Operating System for the Orange Pi)#
Download the OS image for your device here. Ubuntu Desktop 22.04 LTS or later is recommended.
Extract the XZ compressed package you downloaded into a folder where a file that ends with “.img” should be there.
Download and install the balenaEtcher.
It should look similar to this.
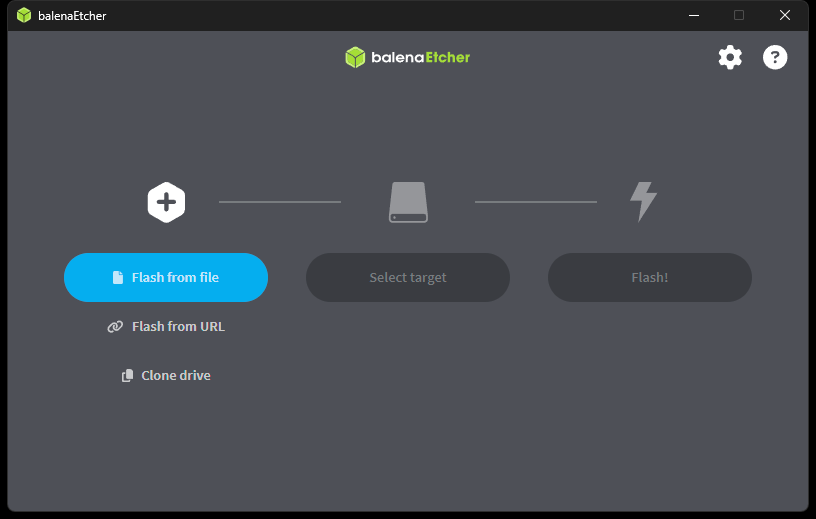
Click “Flash from file” and choose the image file.
Select the target accordingly, then click “Flash!”.
It will run a validation after flashed, then you are safe to unplug the SD card. If the validation fails, it is most likely because you selected the XZ file as the target instead of the uncompressed content.
Insert the SD card to the Orange Pi and power up. Follow the instructions to install the system.
Environment Setup#
You may also find references here.
Tip
If you encounter “permission denied” errors, grant root permission.
sudo su
Install LEADS#
Follow this section to install everything.
If successful, you should see a similar output.
[Level.INFO: 1] [<module>] [2024-05-11 20:32:26.899024] LEADS VeC
System Kernel: ...
Python Version: ...
User: ...
`frpc` Available: ...
Module Path: ...
LEADS Version: ...
LEADS VeC Version: ...
(Environment Variable)#
If you are using an Orange Pi, you have to set the environment variable. See here.
Register LEADS VeC#
leads-vec -r systemd run
systemctl --user daemon-reload
systemctl --user enable leads-vec
Warning
Always use explicit startup until deployment. The logging information may not be seen in implicit mode. Stop the service during setup.
systemctl --user stop leads-vec
(Environment Variable)#
If you are using an Orange Pi, you have to edit the service script. See here.
Install FRP (Optional)#
Follow this section to install FRP.
Should you have membership in the VeC Project, please ask your contact for the FRP server credentials.
Enable FRP (Optional)#
Once you have FRP installed, enable it in the Systemd service by editing the service script that can usually be found at “/usr/local/leads/venv/python3.12/site-packages/leads_vec/_bootloader/leads-vec.service.sh”.
leads-vec -c /usr/local/config.json -r reverse_proxy run
Reboot#
Reboot the Raspberry Pi to apply changes.
reboot
When it starts again, you should see LEADS VeC automatically running.
Ubuntu Settings#
Tip
These settings can possibly be found in various locations depending on the specific system version.
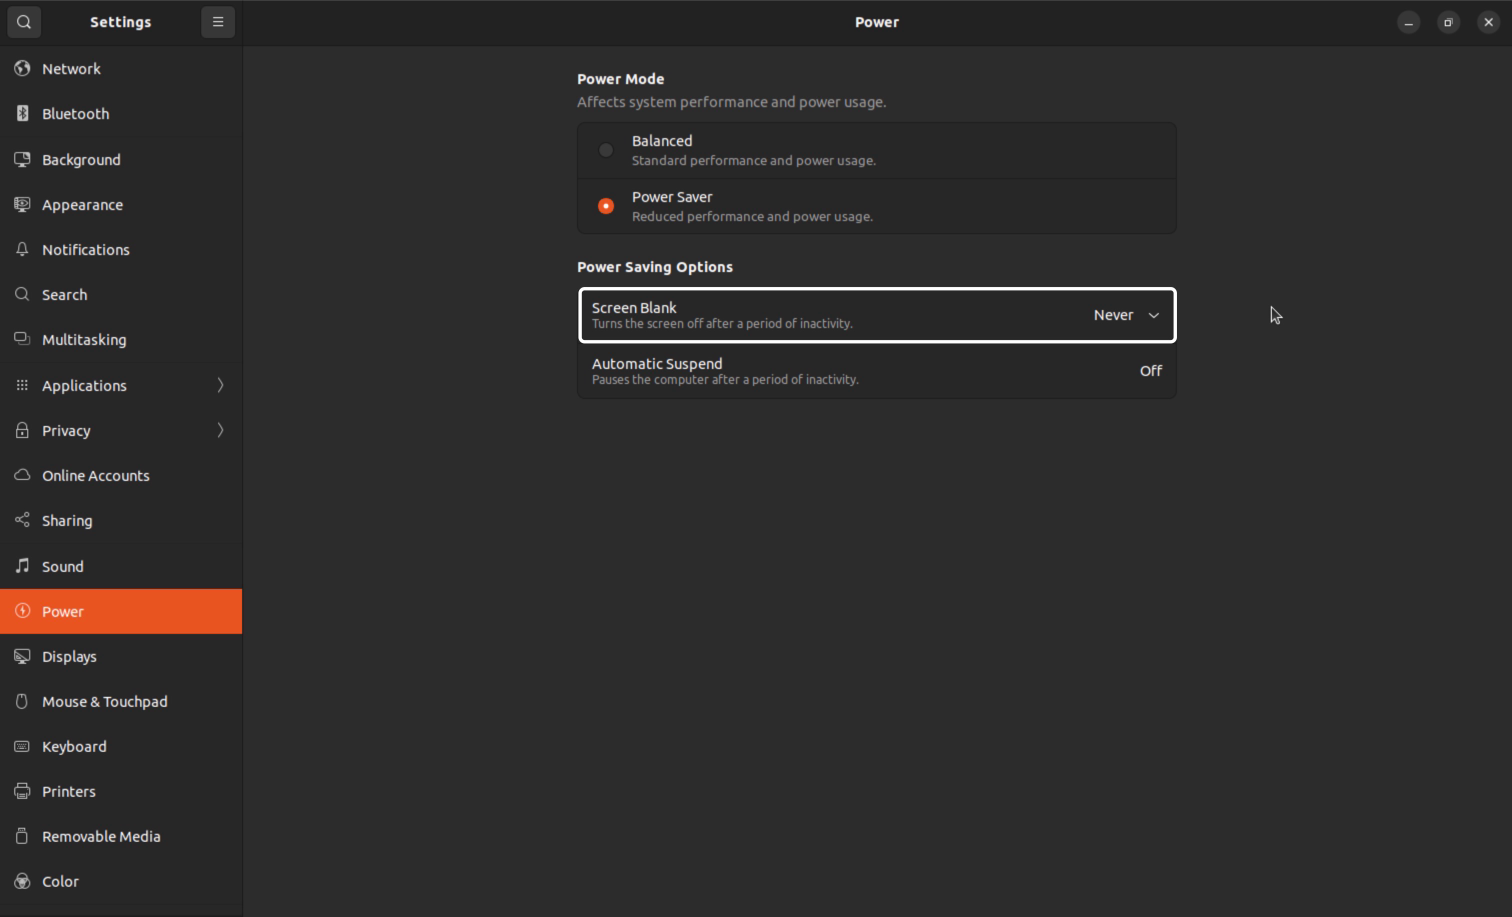
To prevent the screen blanks off in the middle of driving, you should set “Screen Blank” to “Never”.
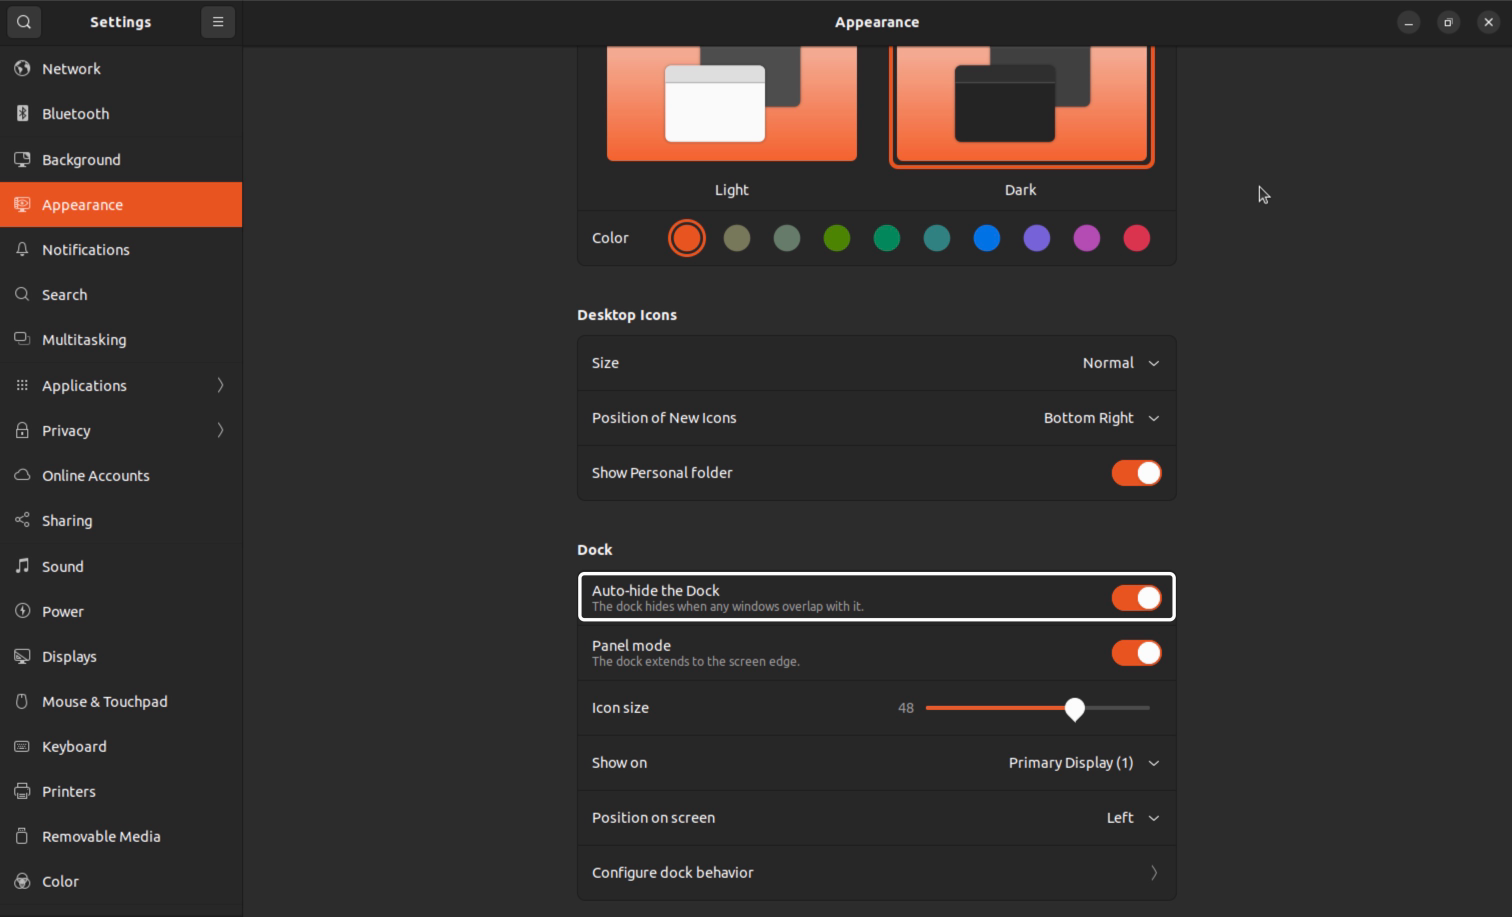
To improve the experience, it is recommended to enable “Auto-hide the Dock”.
Configurations#
To properly configure LEADS VeC, you will need to create a configuration file. Since the Systemd service uses “/usr/local/leads/config.json” by default, it is recommended to use the same. Otherwise, make sure you refer to the correct file anywhere LEADS VeC starts.
If you have correctly set up the environment, the file should already exist. Edit it using Vim.
Tip
Install Vim first if it is not bundled with the system.
apt install -y vim
vim /usr/local/leads/config.json
Press I to enter insert mode.
Tip
To save and quit, press Esc and type in “:wq”, then press Enter.
For racing, daily test drives, and debugging, there are different configurations for each.
You may also add optional configurations. Learn more about the configurations here.
Racing#
{
  "manual_mode": true,
  "fullscreen": true,
  "w_debug_level": "ERROR",
  "front_wheel_diameter": 20,
  "rear_wheel_diameter": 26
}
Daily Test Drives#
{
  "fullscreen": true,
  "refresh_rate": 60,
  "w_debug_level": "WARN",
  "front_wheel_diameter": 20,
  "rear_wheel_diameter": 26
}
Debugging#
{
  "fullscreen": true,
  "refresh_rate": 60,
  "front_wheel_diameter": 20,
  "rear_wheel_diameter": 26
}
Determine Devices’ Ports#
Sometimes the ports may differ due to various hardware layouts. You can determine the port using the described procedure.
Remove all USB devices
Plug in one device
List current ACM ports
ls /dev/ttyACM*If no port is found, try AMA ports.
ls /dev/ttyAMA*Set the device to the newly appeared port
Repeat steps 2 to 4 for other devices
If you see “permission denied”, apply this command to the corresponding device.
The dynamic symbol changes on every reboot. A more persistent identifier can be acquired through the following command.
ls -l /dev/serial/by-id/
For example, if the dynamic symbol has been determined to be “/dev/ttyACM0”, you will find something similar to
usb-FTDI_FT232R_USB_UART_AI03AC70-if00-port0 -> /dev/ttyACM0.
Upgrade LEADS#
pip-leads install --upgrade leads
Note
Upgrading or reinstalling LEADS does erase changes to “leads-vec.service.sh” and other built-in files. If you have edited any of them, you need to do that again.
Important
Since version 0.9.6, you may need to manually grant permission for the LTM system if you see a debug message saying
LTM permission NOT OK: /usr/local/leads/venv/lib/python3.12/site-packages/leads/_ltm/core.
sudo su
chmod 666 /usr/local/leads/venv/lib/python3.12/site-packages/leads/_ltm/core
Start the Program#
Warning
Running as root is not recommended.
The program should automatically start if it is correctly configured. If not, use the following command.
leads-vec -c /usr/local/leads/config.json run
Fault Lights#
See comments in “devices.py”.
Shortcuts#
Key |
Usage |
|---|---|
1 |
Turn on / off DTCS |
2 |
Turn on / off ABS |
3 |
Turn on / off EBI |
4 |
Turn on / off ATBS |
T |
Time a lap |
Tab |
Toggle debug window |
Debug#
If you run into any error, first search in the existing issues. If it has not been encountered, please post a new issue.
LEADS VeC RC#
Create an FRP Reverse Proxy Server#
Purchase a cloud server that has a public IP address. Use the same procedure to install FRP on the server.
Start an FRP Service#
apt install tmux
Create a persistent process and start the service.
tmux new -s frp
cd /usr/local/frp
./frps -c frps.toml
Close the terminal.
Start LEADS VeC RC#
On your laptop, install LEADS.
pip install leads[leads-vec-rc]
Create a configuration file.
{
  "comm_addr": "127.0.0.1",
  "save_data": true,
  "car_width": 2,
  "car_length": 1,
  "car_mass": 400,
  "car_center_of_mass": 0.25
}
Start LEADS VeC Remote Analyst, following the instructions here.